In our last lesson we spent some time thinking about the kind of waltz we want to compose and putting together a short plan. Now we’re going to get practical and start composing!
Some people like to begin a composition with the chords first – if that’s what you’d prefer to do, please do that. For our example piece I’m going to start with the melody and then add the chords.
I’m going to take you through how to write a melody, but if you want to go into more depth or would like a refresher, why not enrol in our course: How to compose a great melody, where we go through step-by-step melody-writing. You’ll find a number of examples in this lesson – please listen to them and use them to generate ideas for your own melody.
In this lesson we’ll cover:
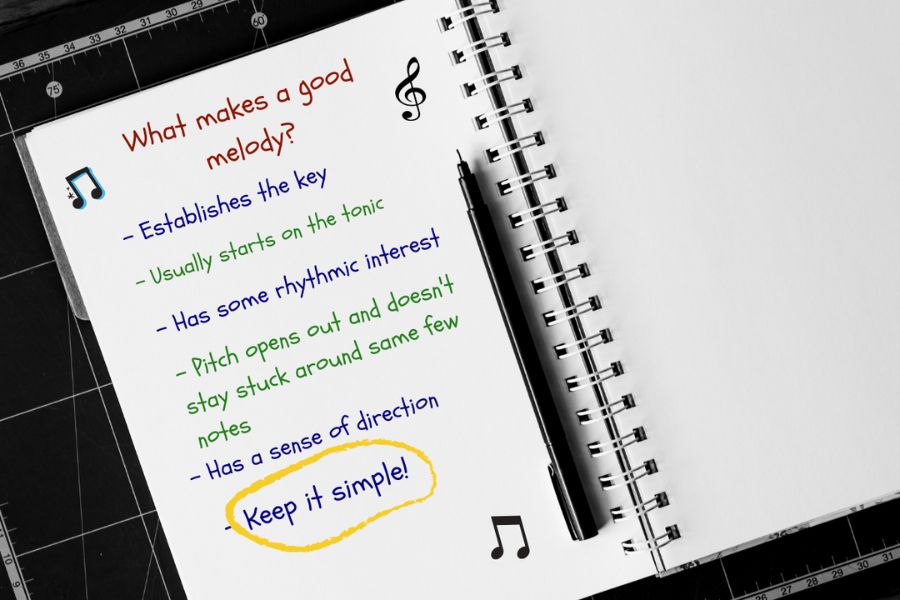
- What makes a good melody?
- Establishing the key
- Using rhythm effectively

Getting the melody right
We’re going to go through melody-writing in a bit of detail, as it’s worth getting this bit right – the rest of your composition will flow more easily if you start with a good tune
1. What makes a good melody?
Creating your melody
We’re going to start by composing a 4-bar melodic phrase. In the next lesson we’ll develop this tune.
What to think about first…
- Think about the mood and character you want to create.
- Establish your chosen key (write out key signature if you like)
- Set a couple of intentions. This is where you give some purpose to your melody and decide what kind of character or feeling you want to present.

Try it yourself…
Get a piece of paper and jot down some ideas and intentions for your waltz.
By the end of the next lesson we’ll have created an 8-bar phrase, made up of two 4-bar mini phrases. Listen to the three example melodies below (we’ll develop one of them later on) .
Example #1

Example #2

Example #3

Which one did you like the most? They’re all quite similar, because they fit in with the intentions written earlier. I’ve decided to use melody #2 for my composition so I’ll develop this one in the next lesson.
3. Using rhythm effectively
Giving thought to the way you use rhythm in your melody can add interest and provide a way of developing your tune later on. It doesn’t mean just adding in rhythmic features for the sake of it, but a well-placed rest or dotted rhythm can give real character to a tune.
In this section we’ll explore:
- Dotted rhythm
- Anacrusis and off-beat
- Use of rests
Dotted rhythm

Using dotted quavers can add energy to your melody as the semiquaver leads into the next beat. It’s also a good way of developing your melody later – if you start with a pair of quavers you can change these into a dotted quaver and semiquaver in the next section.
Anacrusis and off-beat

An anacrusis is an upbeat. Here, the anacrusis gives energy to the melody – it feels like the music takes a breath. The minim lands on the weak beat of the bar (beat 2), effectively creating a simple off-beat rhythm. This rhythmic figure is heard 3 times, making it into a feature.
Use of rests

Sometimes we forget to use silence when composing! But it can be very effective – here’s a simple example of how a few well-placed rests can bring space and move the music along.
Now it’s your turn…
Using the examples above as a guide, compose your 4-bar melody. Remember:
- Start on the tonic
- Use 3/4 time signature
- At the end of bar 4, land on the dominant
And why not try out some different rhythmic ideas to add interest to your melody?
Hopefully you now have the first 4 bars of your melody composed! In the next lesson we’re going to compose the next 4 bars to complete the melody.
Let’s Go!
Click the MARK COMPLETE button below and move on to the next lesson.